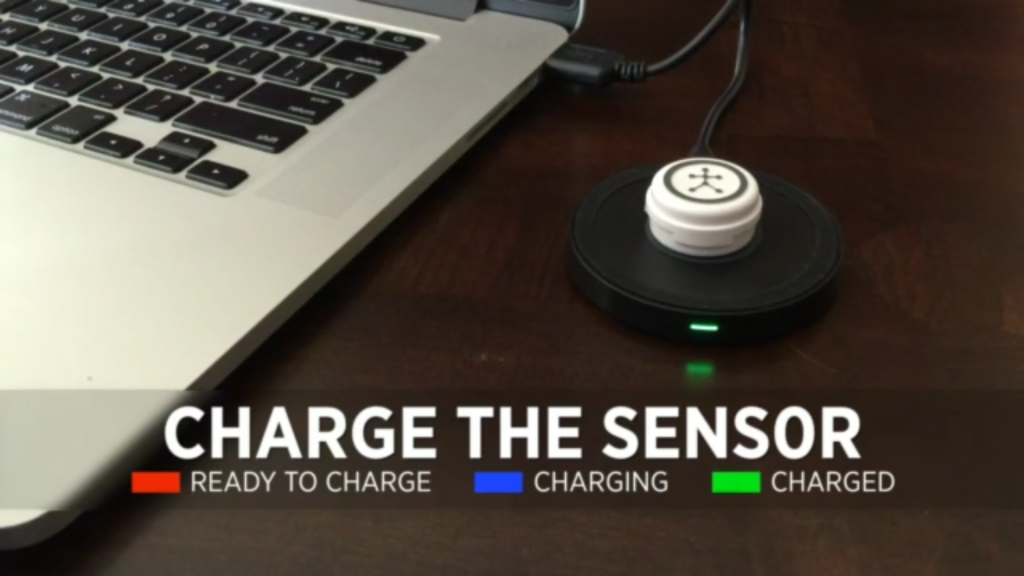
- Start the charging process, you will need the black Wireless Charger and the cable connection. The wireless charger cable connects to any USB port. Once the cable is connected to the Wireless Charger and the blast logo is facing up, start the charging process. Match the Blast Motion Logo on the Wireless Charger with the logo on the sensor. When done correctly, you will hear an audio tone and see the blue LED. These are the indicator lights on the charger:
- Red LED – The charger is not active (the sensor is not on the charger or the sensor is fully charged).
- Blue LED – The sensor is charging.
- Green LED – The sensor is completely charged.
- Amber LED – The sensor is awake, charged and ready to capture a metric.
- If the sensor is fully charged it doesn’t reset the charging sequence. The light will show red on the charger when the sensor is replaced back on the charging pad.
- A full charge takes 60 minutes. Once the sensor is charged you can see the battery level is visible on the top right of the app. When the sensor shows less than 20% battery level or the sensor LED starts to blink red, a charge is needed. When the sensor’s LED is blinking green the sensor is in motion, its battery is charged, and it is ready to take an action. When the sensor’s LED stops blinking it is in standby mode or sleep mode. The sensor goes into standby mode when it is not in motion for 30 seconds. The LED will start blinking again with a light touch.